Thursday, November 5, 2009

Almost a treatless party...

I absolutely LOVE baking treats for class parties!! So of course when Halloween rolled around I volunteered to bake a treat for my daughter Carlee's pre-school class.
What was I thinking???
I can't believe all of the allergies in that classroom.
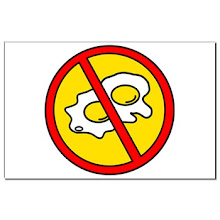
No eggs, peanuts, strawberries or watermelon.
I knew those though since it's Carlee's allergies!
But they also said no milk, cinnamon, or root beer.
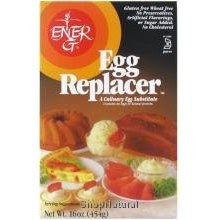
Yikes! Give me an egg allergy any day over dairy! Everything I wanted to make had milk in it. Cake mixes, brownie mixes, butter, etc.
I finally settled on making Jell-O popcorn balls. When I went to make them my air popper wasn't working. Go figure.


Photobucket

So what the heck can I make? I thought. Well, they got orange jigglers shaped like pumpkins and pie crust sprinkled with orange sugar. Not what I wanted to make but it worked.
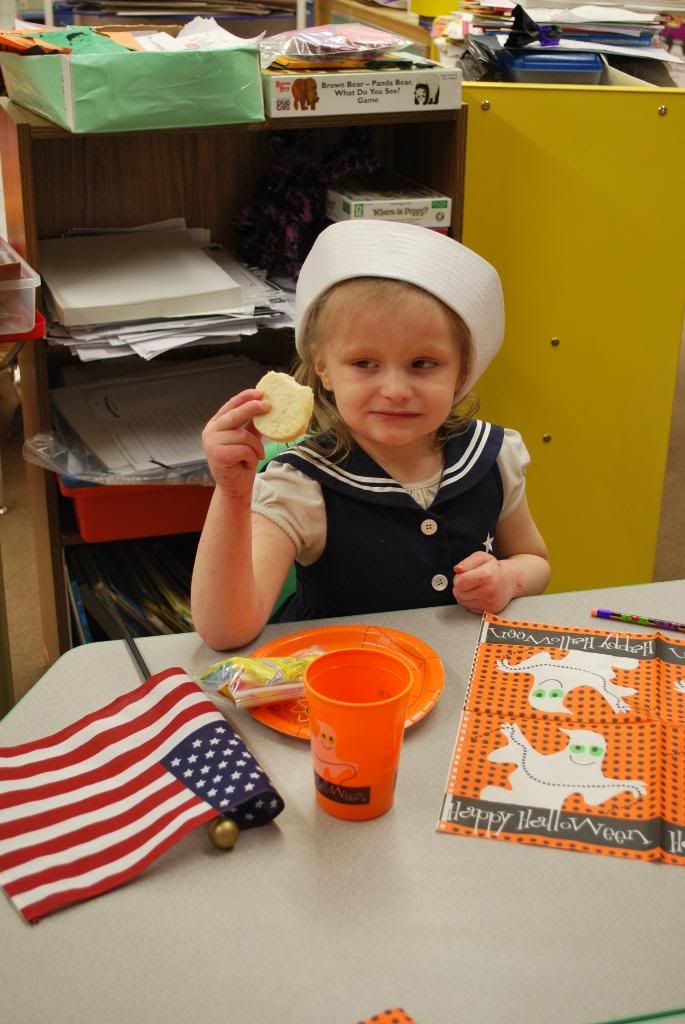
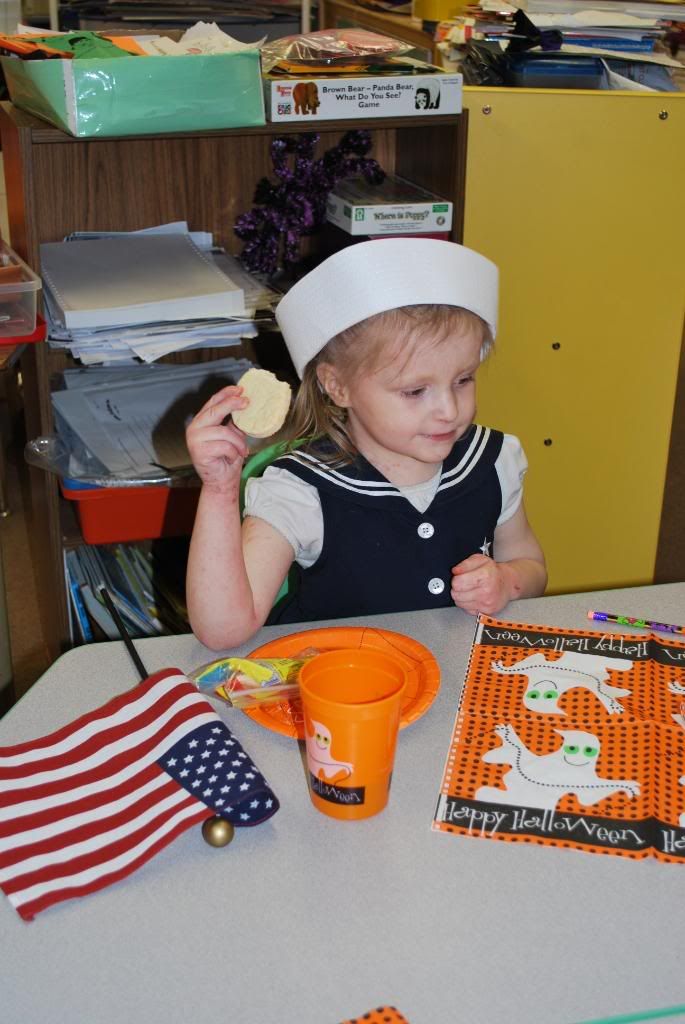
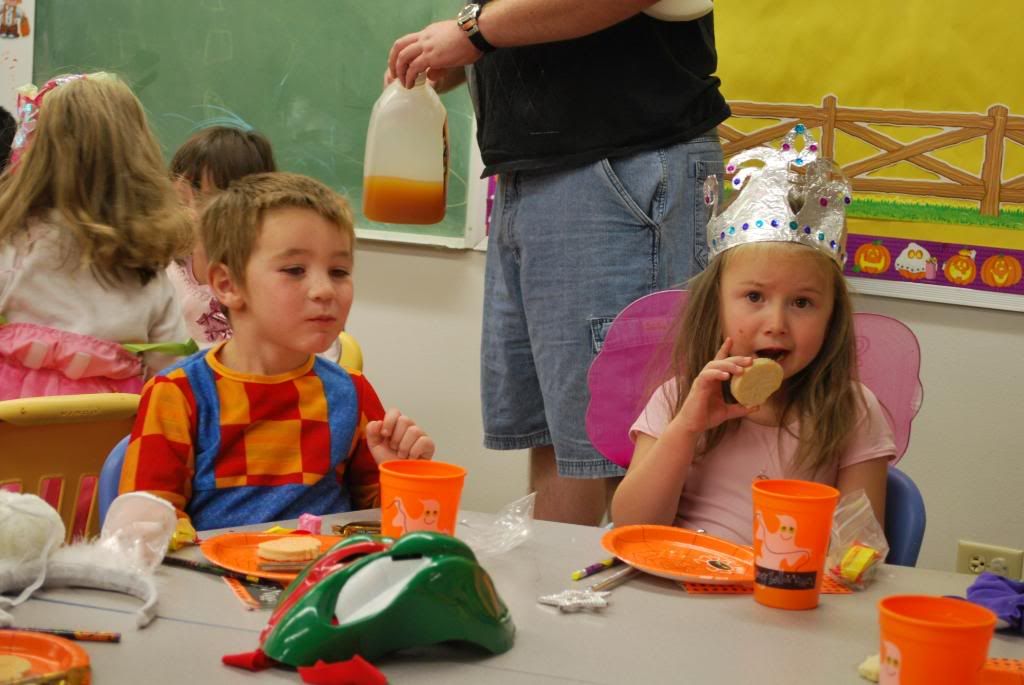
Photobucket
My little Carlee.


Photobucket
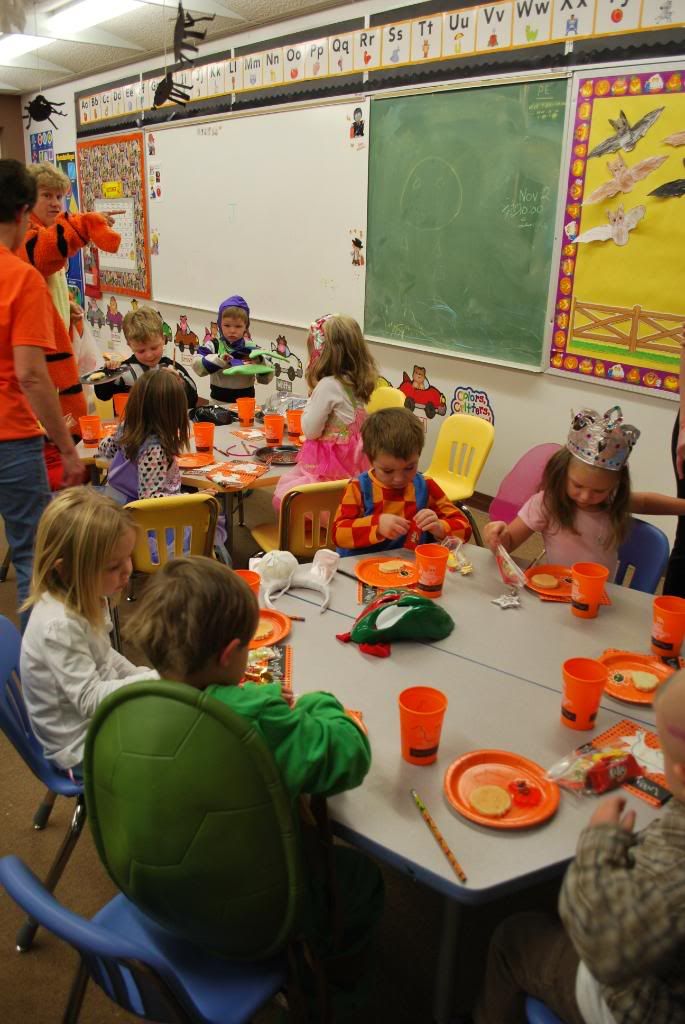
The kids seemed to enjoy them although they thought the pie crust was a sugar cookie. Hope they weren't disappointed!

Photobucket

I think next year I won't volunteer!

Photobucket
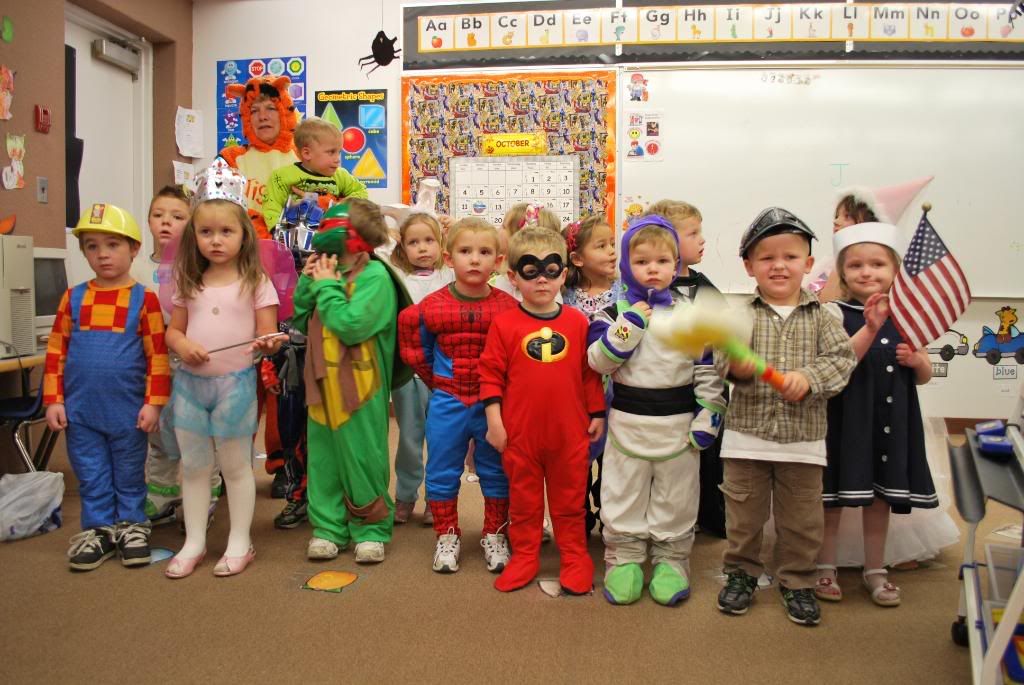
They are so cute though. How can I resist???


Thursday, October 29, 2009

Frosting Clowns

For our 3rd cake decorating class one of the things we had to do was make frosting clowns. I've never seen these before but it was a cute idea! :)

My friend Julie made this purple clown.

Her daughter Lyndsey made a pink clown.

I thought she did a pretty good job!!

This cute plate of cupcakes was made by my mother in law Tina.

And here you go. This is my boring white clown. I'll admit it. I was too lazy to get out another bag and split colors!

That didn't stop Collin from trying to lick it though!

Or the hubby either as he tried to eat it up in one big bite!!
I have been having so much fun learning new techniques and the intricacies of the sugar arts. I think after the beginning course is done we'll have to move onto more advanced courses. Can't wait to try and make fondant flowers in lessons to come!


Wednesday, October 28, 2009

My first cake!

This month has been a whirlwind of icing! Why? Because I am now taking my first ever cake decorating course. My mom is so gifted in the sugar arts and now I decided that I would like to learn how she does it all.

cake


I know, I know, my cake isn't the greatest but hey it was my first try. It was a learning process. I'm not very talented when it comes to smoothing out the icing. It's a pain in the rear!


Photobucket


Plus, my icing lines weren't the best on the side. You could even see some of the cake peeping through where the icing wasn't connected very well! In the end all that mattered was that my kids loved it and I had a lot of fun with everyone else in the class. That's all that matters right?? Plus I know I'll get better with time. How could I not with such an awesome teacher! Luv ya mom!


Wednesday, October 21, 2009

Mummies in a Blanket

I haven't really been in the kitchen much except to hog down pizza or cereal. Nutritious aren't we? So I thought I better get back into the swing of things!

My son and I made these mummies in a blanket the other day and both kids thought they were fun. Collin was just disappointed I wouldn't let him put chocolate chips for the eyes. Hot dogs and chocolate? The very thought makes me queasy!

Mummies in a Blanket

Ingredients:

1 can crescent rolls 8 ct.

8 hot dogs

raisins

Directions:

Pre heat oven to 375 degrees. Separate crescent roll dough into 8 triangles. Taking one triangle, cut it into strips lengthwise. Wrap strips around hot dog leaving a space for eyes. Repeat with remaining dough and hot dogs. Bake for 13-17 minutes or until golden brown. Cut raisins in half for eyes.

Tuesday, October 13, 2009

Horsie, horsie on your way!!

Photobucket

I just had to share the horse cake my mom made for my babies 4th birthday.

Photobucket

It was so cute!!
Everyone loved it.

Photobucket

It was a chocolate cake with cookies and cream filling. Ummmm... The stable, fence and horse were chocolate with rice krispies underneath.

Photobucket

The silly birthday girl devoured an entire side of fence waiting for her daddy and grandpa to come. It was too yummy to wait!!


Tuesday, October 6, 2009

Banana Chocolate Cupcakes

Oh what to do when you have a pile of brown bananas and you're sick of banana bread. Mash 'em in cupcakes! No one ever gets tired of cupcakes do they? I was perusing the joy of baking website and came across a recipe for chocolate banana cake. It looked so good that I immediately set about making it. This is my first time making ganache frosting but it turned out yummy. Enjoy!


Chocolate Banana Cake (or cupcakes!!):

2 cups (400 grams) granulated white sugar

1 3/4 cups (245 grams) all-purpose flour

3/4 cup (75 grams) cocoa powder

1 1/2 teaspoons baking powder

1 1/2 teaspoons baking soda

1/2 teaspoon salt

2 large eggs

1 cup mashed ripe bananas (about 2 medium sized bananas)

1 cup (240 ml) warm water

1/2 cup (120 ml) milk

1/2 cup (120 ml) safflower or canola oil

1 1/2 teaspoons pure vanilla extract


Chocolate Ganache Frosting:


8 ounces (227 grams) semisweet or bittersweet chocolate, cut into small pieces

3/4 cup (180 ml) heavy whipping cream

1 tablespoon (14 gram) unsalted butter


Chocolate Banana Cake Directions:

Preheat oven to 350 degrees F (180 degrees C) and place rack in the center of the oven. Butter, or spray with a non stick vegetable spray, a 9 x 13 inch (23 x 33 cm) pan. Set aside. Or you can line muffin pans with paper liners.

In a large bowl whisk together the sugar, flour, cocoa powder, baking powder, baking soda, and salt. Set aside.

In another large bowl, whisk together the eggs, mashed bananas, water, milk, oil, and vanilla extract. Add the wet ingredients to the dry ingredients and stir, or whisk, until combined. You will notice that the batter is quite thin. Pour the batter into the prepared pan and bake for about 35 to 40 minutes for the cake. Bake 18-20 minutes for cupcakes or until a toothpick inserted in the center of the cake comes out clean.

Remove from oven and let cool on a wire rack. When completely cooled, frost with the Ganache.


Ganache Directions:


Place the chopped chocolate in a medium sized stainless steel, or heatproof bowl. Set aside. Heat the cream and butter in a medium sized saucepan over medium heat. Bring just to a boil. Immediately pour the boiling cream over the chocolate and allow to stand for 5 minutes. Stir until smooth. When Ganache has completely cooled, beat until soft and fluffy. Then spread the frosting on top of the cake. Can garnish with dried banana chips if desired.

Serves 16 people.


Thursday, October 1, 2009

Quick Halloween Snacks

Here are a couple of quick snack
ideas for your little boys and ghouls!

Cut out peanut butter and jelly sandwiches with a bat cookie cutter. Then put on mini chocolate chips for the eyes. My son usually doesn't eat PB&J but when I fixed them like this he gobbled them right up!

Roll out refrigerated biscuit dough. Top with pizza sauce, cheese and pepperoni cut into fun pumpkin faces. Bake as directed on biscuit container.

Happy snacking!!


Wednesday, September 30, 2009

Chili Bowls!

Since the weather has started to turn a little colder I have been craving chili! I've never made chili before and I didn't want to spend a lot of time on it. I know people soak their beans and what not, but after working 8 hours I don't have the time or energy to deal with that. I wanted fast and easy. I was so glad when I found a recipe on allrecipes.com that was titled "Easy Homemade Chili". That was it for me, I had to try it.

I also used my edible bowl maker pan to cook some sweet homemade corn bread. Gotta have cornbread with chili right? I loved the bowls even though no one else in my family wanted their chili to touch their cornbread. Silly family.


EASY HOMEMADE CHILI
(from allrecipes.com)

PREP TIME 10 Min
COOK TIME 20 Min
READY IN 30 Min

INGREDIENTS:

* 1 pound ground beef
* 1 onion, chopped
* 1 (14.5 ounce) can stewed tomatoes
* 1 (15 ounce) can tomato sauce
* 1 (15 ounce) can kidney beans
* 1 1/2 cups water
* 1 pinch chili powder
* 1 pinch garlic powder
* salt and pepper to taste


DIRECTIONS:

1. In a large saucepan over medium heat, combine the beef and onion and saute until meat is browned and onion is tender. Add the stewed tomatoes with juice, tomato sauce, beans and water.

2. Season with the chili powder, garlic powder, salt and ground black pepper to taste. Bring to a boil, reduce heat to low, cover and let simmer for 15 minutes.


SWEET HOMEMADE CORNBREAD RECIPE
(from grouprecipes.com)

Ingredients:

* 1 1/4 Cup of All-Purpose Flour
* 3/4 Cup of Cornmeal
* 1/4 Cup of Sugar
* 2 Teaspoons of Baking Powder
* 1/2 Teaspoon of Salt
* 1 Cup of Skim Milk (any milk will do though)
* 1/4 Cup Vegetable Oil
* 1 Egg, beaten


Directions:

1. Heat over to 400 degrees Fahrenheit.
2. Grease 8-9 inch square pan.*
3. Combine dry ingredients.
4. Stir in milk, oil, and egg until moistened.
5. Pour into pan.
6. Bake 20-25 minutes or until golden brown.

*Or use the edible bowl maker pan! Spray pan with Pam. Fill sections 1/2 full. Bake 15-20 minutes. Makes six bowls.


Sunday, September 27, 2009

Sugar Free Hot Cocoa

I was looking for something to satisfy my sweet tooth this weekend without all the extra calories. Oh what to eat even though a Hershey bar is calling my name!!! So I settled for making some sugar free hot cocoa. I was surprised that it actually calmed down my craving and I was satisfied. It had just enough chocolaty flavor to trick my tummy. Try it, you won't be disappointed!


"Perfectly Chocolate" Sugar Free Hot Cocoa

Ingredients:

1 tablespoon Hershey's Cocoa
Dash salt
1 cup nonfat milk
1/4 teaspoon vanilla extract
Sugar Substitute with sweetening equivalence of 2 tablespoons sugar


Directions:

Mix cocoa and salt in mug. Heat milk in microwave at HIGH (100%) 1-1/2 minutes or until hot. Gradually add hot milk to cocoa mixture in mug, stirring until well blended. Stir in vanilla and sugar substitute. 1 serving.

I, of course, had to add whipped cream to the top. Yum!

Recipe from Hershey's.com.

Friday, September 25, 2009

Edible Bowl Maker Pan

photo from cookschoice.com

I love the edible bowl maker pan! I just can't believe that I have had this pan for a long time now and I still haven't used it. Okay, well I've used it but they didn't turn out. I attempted to make brownies in it, but my eggless brownie recipe still needs work. I think I'll have to try something other than brownies in this. Or else just use my tried and true brownies with pumpkin. I'm thinking that corn bread with chili or pancakes and fruit sound like delicious starts to break in the pan. Yum...

By the way if anyone knows of a brownie recipe that works in high altitude and doesn't turn into a soupy mess please let me know!!

This weekend I am going to have to try and post a working recipe for a yummy edible bowl. I know the kids would love it if I do.

Ta-ta for now!


Monday, September 21, 2009

Pirapple Cupcakes...Aaarg!

Ahoy me mateys! Saturday was "Talk like a pirate day" so we wanted to rustle up some pirate grub. (We use any excuse to party!) We made a meal of Cornish hens, "hard tack" biscuits, and pirate grog. To top it off we served up some Pirapple cupcakes. What the heck is Pirapple you may ask? It's just a combo of yummy apple cupcakes with a little Pirattitude.

I found a new cinnamon apple ice cream topping the other day and I was dying to see how it tasted in cupcakes. Oh boy was it delicious!


Kami's Pirapple Cupcake's

Ingredients:

1 box Betty Crocker Spice Cake
3 eggs
1/3 cup applesauce
1 1/4 cup water
1 medium apple, peeled and chopped
1 jar apple cinnamon ice cream topping

Directions:

Pre-heat oven to 350 degrees. In a medium mixing bowl add cake mix, eggs, water, and applesauce. Beat for 3 minutes. Stir in chopped apple. Fill 24 muffin cups 1/4 full with cake batter. Place a teaspoon of apple cinnamon topping in middle of each cupcake. Top with remaining cake batter. Bake for 17-22 minutes or until toothpick poked into side of cupcake comes out clean. Once cooled, top with caramel frosting recipe below.

Betty Crocker's Caramel Frosting:


Ingredients:

1/2 cup margarine or butter
1 cup packed brown sugar
1/4 cup milk
2 cups powdered sugar

Directions:


Heat margarine in 2-quart saucepan until milted. Stir in brown sugar. Heat to boiling, stirring constantly. Boil and stir over low heat 2 minutes; stir in milk. Heat to boiling; remove from heat. Cool to lukewarm. Gradually stir in powdered sugar. Place pan of frosting in bowl of cold water; beat until smooth and of spreading consistency. If frosting becomes too stiff, stir in additional milk, 1 teaspoon at a time. Frosts a 13x9-inch cake or fills and frosts two 8-or9-inch cake layers. 15 servings; 185 calories per serving.


That there be a mighty fine treat fit for any pirate!


Thursday, September 17, 2009

Chocolate Waffles

Photobucket

I have the hardest time getting my son Collin to eat breakfast in the morning. He inherited his daddy's tummy because he doesn't like to eat in the morning either. Not me! I'm hungry as soon as I get up! Collin is also a major junk hound and would rather eat candy for breakfast. That doesn't really fly with mama.

So, in an effort to find some common breakfast ground we made chocolate waffles. That way it seems like he is getting more of a treat in the morning and I know he's getting something a little bit healthier than the M&M's he wanted for breakfast. We served our waffles with sliced bananas and syrup. Enjoy!


Chocolate Waffles

Ingredients:

1 1/2 cups Original Bisquick® mix
1 cup granulated sugar
1/3 cup unsweetened baking cocoa
3/4 cup water
2 tablespoons vegetable oil
2 eggs


Directions:


1. Heat waffle iron. (Waffle irons without a nonstick coating may need to be brushed with vegetable oil or sprayed with cooking spray before batter for each waffle is added.) In medium bowl, stir all waffle ingredients with spoon until blended. Pour batter onto hot waffle iron. (Check manufacturer's directions for recommended amount of batter.) Close lid of waffle iron.

2. Bake each waffle about 5 minutes or until steaming stops. Carefully remove waffle. Serve with toppings of choice. Makes 6 servings.


Click here for the link to the recipe. It has a delicious banana topping that I totally didn't have time to put together in the morning rush.


Wizard Hats!

I'm starting my Halloween fun early! These Wizard hats were super fast and super yummy! The kids and I gobbled them up in no time.


Wizard Hats

Ingredients:

1 can Pillsbury crescent rolls
Grated Pizza cheese
Pepperoni slices
Pizza Sauce
Italian Seasoning

Directions:


Pre-heat oven to 375 degrees. Unroll crescent rolls. Grease cookie sheet and lay down 4 crescent triangles. Set the rest aside. Cut 2 pepperoni into fourths. Place pepperoni's onto middle of one triangle and top with 1-2 tablespoons pizza cheese. Repeat with remaining 3 triangles. Brush sides of triangle with water and top with remaining crescent triangles. Press edges to seal. Fold over bottom to make a hat brim. Sprinkle top of hat with Italian Seasoning. Decorate hat brim with cut pepperoni's if desired. Bake for 8-11 minutes or until golden brown. Serve with warmed pizza sauce for dipping. Makes 4 Wizard hats.


Recipe adapted from Better Homes and Gardens Witch Hats.

Monday, September 14, 2009

S'mores Mix

Sometimes the simplest things in life are the best things. Take S'mores ingredients for example. They are super simple and great together! I always see recipes of how people use these ingredients in recipes, but why not just let them stand alone? My kids were VERY excited to get little snack baggies of this mix as a treat.

S'mores Mix

1 Hershey's chocolate bar
1 cup mini marshmallows
2 rectangles graham crackers

In a bowl pour one cup of marshmallows. Break graham crackers into bite sized pieces and add to marshmallows. Cut Hershey bar squares in half or in thirds, your preference, and add to bowl. Gently toss ingredients together. Store in airtight container or separate into three snack sized baggies.